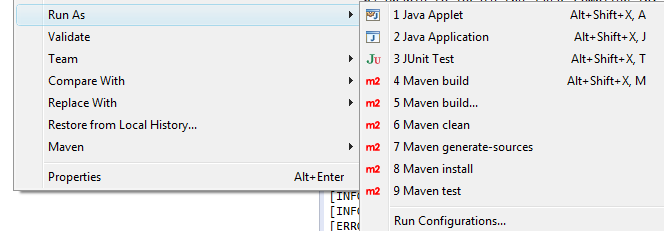
In May 2012 we posted docx4j-from-github-in-eclipse. That was more than 3 years ago now, so its about time to update that walkthrough 
This post is about getting the docx4j source code setup in Eclipse, so you can not just use it, but easily study it as well (and submit pull requests!). If you have no interest or need to do that, please see hello-maven-central (if you’re already using a recent Eclipse, you can start at step 4) and/or docx4j-3-0-and-maven (but do use our current version 3.2.x)
Preliminaries – JDK
Make sure you have the JDK installed; Java 6 or later. The JRE alone is not enough, since it doesn’t include a compiler (javac).
Preliminaries – Eclipse
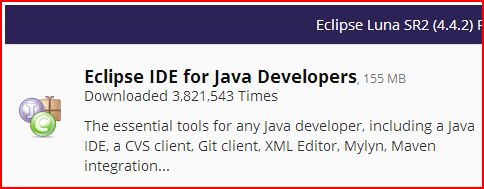
Install Eclipse. These days, the basic package has everything you need (ie git and maven support):
Git & GitHub
GitHub is docx4j’s authoritative source repository. Eclipse now includes a git client. (If you have an older Eclipse, you can install eGit) However, it is still handy to have other git clients installed:
- on Linux (listed first, given git’s provenance), install git using your distribution’s package manager
- on Windows, the Git BASH shell is handy; as is Atlassian’s SourceTree
- on OSX, ditto
Clone or Fork?
With Git, there is a difference between cloning and forking.
- Cloning gives you a copy of the source code you can work on, but without more, no easy way to contribute changes back.
- Forking sets you up with the source code, and makes it easy to contribute changes back.
If you think you might be making changes to the docx4j source code, you’re probably best to create a fork on GitHub right from the start.
To create a fork, log in to GitHub, visit https://github.com/plutext/docx4j then press the “Fork” button.
Choose your poison
There are 3 steps to installing docx4j:
- clone the docx4j repo
- install its dependencies
- install docx4j project in Eclipse
You can do these 3 steps entirely within Eclipse, but Eclipse by default doesn’t give much feedback as to what its doing, so you might wonder whether its still working properly.
Since its just as easy (or easier) to use the command line, I’ll show that way first:-
Command Line Approach
To do it this way, you’ll need:
Both of these are worth having in any case.
Step 1. To clone docx4j from your git shell, use the github URL for docx4j (your fork or Plutext’s):
$ git clone -b master –single-branch https://github.com/plutext/docx4j docx4j
Cloning into ‘docx4j’…
remote: Counting objects: 42008, done.
remote: Compressing objects: 100% (58/58), done.
remote: Total 42008 (delta 23), reused 7 (delta 0), pack-reused 41946
Receiving objects: 100% (42008/42008), 61.03 MiB | 128.00 KiB/s, done.
Resolving deltas: 100% (25108/25108), done.
You should now have a docx4j directory, containing the docx4j source code.
Step 2. Next, to get docx4j’s dependencies, you’ll need Maven.
So first, install Maven (if you don’t have it already). Please see the instructions at maven.apache.org (actually, you’ve already got Maven in Eclipse, but its a bit hard to use from the command line).
Now you can go into your docx4j directory, and type:
mvn install -DskipTests=true
You’ll see Maven download docx4j’s dependencies.
Step 3. Now you are ready to start Eclipse.
Because docx4j includes Eclipse project definition files, you can import the docx4j project.
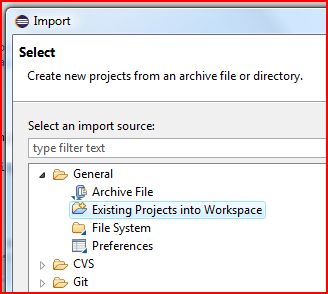
From the File menu, click Import, then Existing Projects into Workspace:
Browse to your docx4j directory:
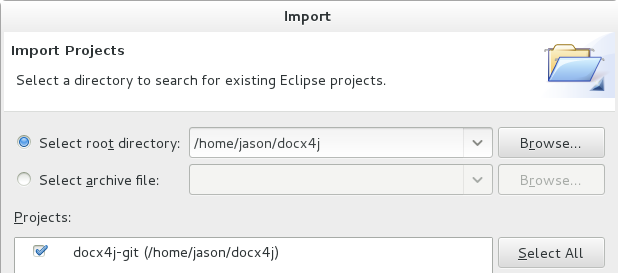
Then click Finish.
Now the project should be set up correctly. If you see errors, please refer further below for troubleshooting.
Eclipse only approach
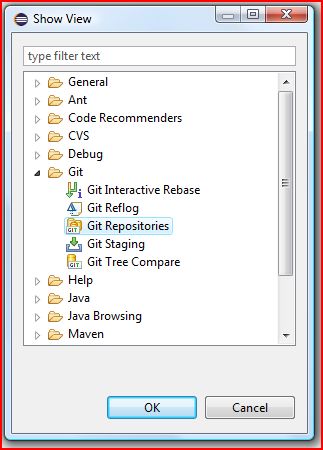
Step 1. clone the docx4j git repo in Eclipse; for this you need the Git Repositories View:
Window > Show View > Other > Git > Git Repositories View
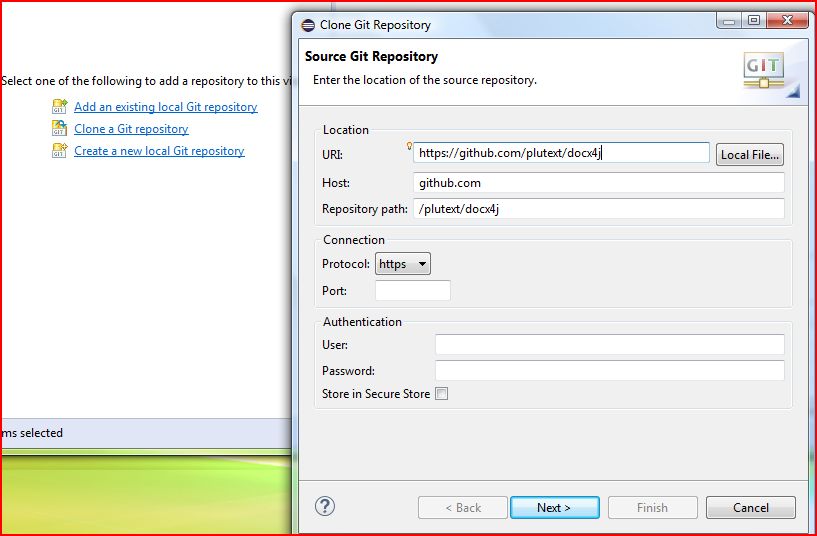
Click “Clone a Git repository” then enter the URI for docx4j (your fork, or Plutext’s), then click Next.
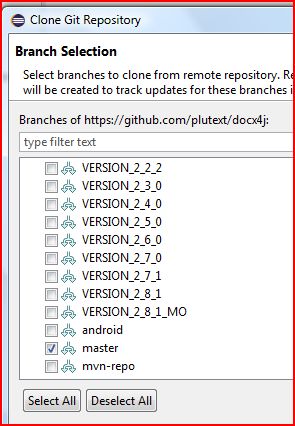
The master branch is probably all you need (though Eclipse will probably fetch all the others at some point anyway!)
Step 2. On the next screen, you can tick “Import all existing projects after clone finishes“. (if you don’t do that, you’ll have to manually File > Import, then Existing Projects into Workspace, as explained above)
Step 3. Eclipse will now start building the project; first Maven will get the dependencies.
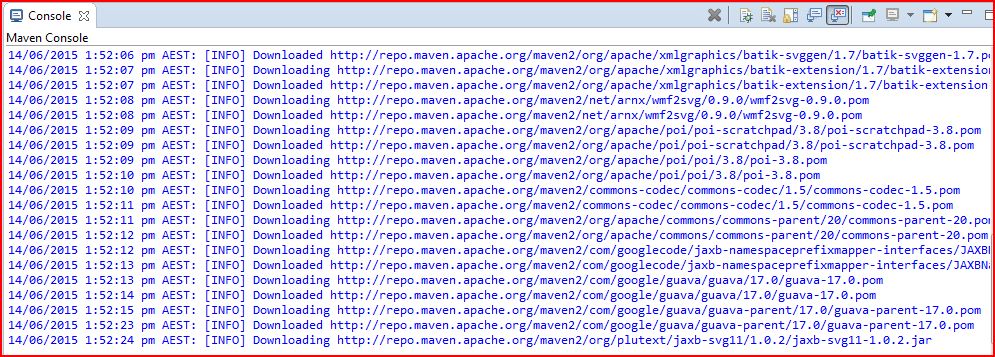
This may take a while … to see what Eclipse is doing while it displays the status “Building workspace”, from the Console view, click the drop down to see the Maven Console:
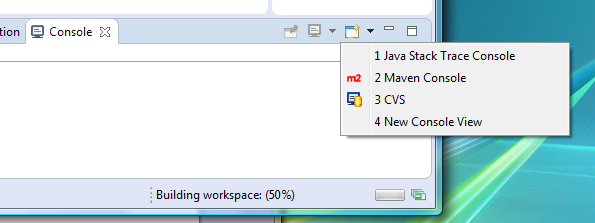
There you can watch it downloading stuff.
You can also look at the Progress view.

When its all done, you should have a docx4j project there and ready to go!
Troubleshooting
I don’t cover issues with git clone or maven here; just issues with Eclipse.
If Eclipse has a problem with your docx4j project, you’ll see an exclamation mark:
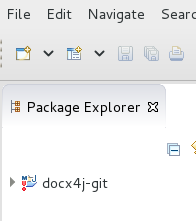
You can see further info in the Problems view; the most likely problem is that your Java is misconfigured:-

To fix this, on the docx4j project, click Alt-Enter to go into its properties.
Then click Java Build Path, then the Libraries tab.

Do you see a red cross next to JRE System Library, as above?
If so click on the JRE System Library entry to select it, then click the Remove button.
Next click Add Library, the JRE System Library, then add one (1.6 or above).

Note the warning:

That’s OK, we changed the JRE on the Java Build Path up above.
Hello World
Now you are ready to run some docx4j code.
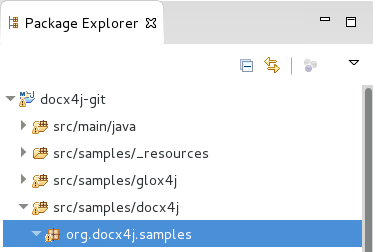
A good place to start is to run CreateWordprocessingMLDocument
Use docx4j in your own project
To use docx4j in your own project, there are 2 approaches:
- the Maven way. If you’re planning to use Maven, you just specify docx4j as a dependency, and if the version matches (look in pom.xml), it’ll use your docx4j project (assuming workspace resolution is switched on). Please see hello-maven-central (if you’re already using a recent Eclipse, you can start at step 4) and/or docx4j-3-0-and-maven (but do use the version specified in pom.xml)
- or, via the Java Build Path > Projects tab.

